Wedding timeline: wedding tables cape with floral arrangements
Pro Tips

Planning a Wedding Timeline: How to Prepare Throughout the Planning Process

A step-by-step guide, from your engagement to the last dance.
Blake Bakkila / 02 11 25
Photo by: Wedvisions Studio

Nearly all wedding couples will tell you that their special day was the shortest, most exhilarating, best day of their lives. Your wedding timeline is technically only one day, but the leadup to your celebration is extensive and requires months or even years of planning. From the moment you say, “Yes!” to your partner’s proposal to the final dance at your after party, there are a number of tasks that make up your wedding planning timeline. 

Even the most organized people can get stumped in creating the ultimate wedding planning timeline. That’s where we come in: We did our research, consulted the appropriate wedding experts, and determined when, where, and how to build your own wedding timeline. Breaking everything down into eight parts, these are the wedding timeline to-dos until “I do,” complete with time stamps and expert recommendations to follow through the process. 

Below, check out our wedding planning timeline tips from 12 months to 12 seconds before your big day begins.

Wedding Timeline, Part 1: 12 Months (or Earlier) Before the Big Day

On average, couples get engaged about a year before they say, “I do.” Given that, your wedding timeline will reflect just how much time you have to plan everything. By our estimation, you should give yourself at least 12 months to host a wedding, but you can work with shorter or longer wedding planning timelines. Destination weddings, which involve traveling to another domestic or international locale, will require more planning—especially for your guests who will need to book their travel and make arrangements to take off a week or extended weekend from work or other responsibilities.

Decide on a budget.

Before you can make any moves, your wedding timeline starts with a budgeting conversation. The decision makers are often the wedding couple, plus any other family or friends who have offered to contribute financially to the event. At this point, you should break down which vendors you will want to prioritize and how much you intend to spend on each one. Everyone’s budget looks different, and these discussions can get a bit sticky, so keep your love at the core of your conversation.

Select the guest list.

From a micro wedding to one with hundreds of guests, the people you invite to your wedding should be those you can't imagine getting married without. One year in advance may seem too early for assembling a complete guest list, but it’s necessary at this stage in your wedding timeline because venues and vendors will ask about the size of your event. For example, a 50-person wedding will look and cost very differently than a 500-person wedding. If you have any other hosts, such as your parents or other wedding “stakeholders” contributing, they might also have a say in who scores an invite. 

Hire a wedding planner.

Technically speaking, a wedding planner is an optional vendor. That said, most couples couldn’t imagine their wedding planning without one of these seasoned experts. In fact, many venues require a planner before you can move onto the next phase of your wedding timeline. If you have a dream venue in mind already, you could even call the on-site coordinator and see if they have any wedding planners (or other vendors, for that matter) that they recommend. Because they work with these professionals regularly, wedding venue coordinators are a great resource for building out your vendor list. Later on, these coordinators are often there to help ensure the day of experience is organized and well thought out.

Book your venue and caterer.

The “where” of it all is perhaps the most crucial aspect of the wedding. So, it makes sense that it’s among the very first steps you’ll need to take in your wedding timeline. There are two primary types of venues: ceremony venues and reception venues. Many of these go hand-in-hand, but there some couples may also want to relocate after their ceremony. The most classic example is a church ceremony followed by a hotel ballroom for the reception. 

Wedding Timeline, Part 2: 9-12 Months Before the Big Day

As your wedding timeline moves into the year of your celebration, you’ll have to make the majority of the big decisions. As part of our wedding timeline checklist, you’ll want to tackle tasks like hiring the rest of your vendors, thinking more critically about the theme and overall look of your event, and handling other logistics like your wedding website, registry, and more. The post-wedding celebration, the honeymoon, should also be on your mind at this point in your wedding timeline. 

Hire all other vendors. 

At the very least, this area of your wedding timeline should be dedicated to rounding out your vendor list. From your planner and venue coordinator’s recommendations to your own research, look for people with positive reviews and availability to work on your wedding day. Setting up interviews is best, since you’ll get a better feel for the person and see if they can truly bring your vision to life. 

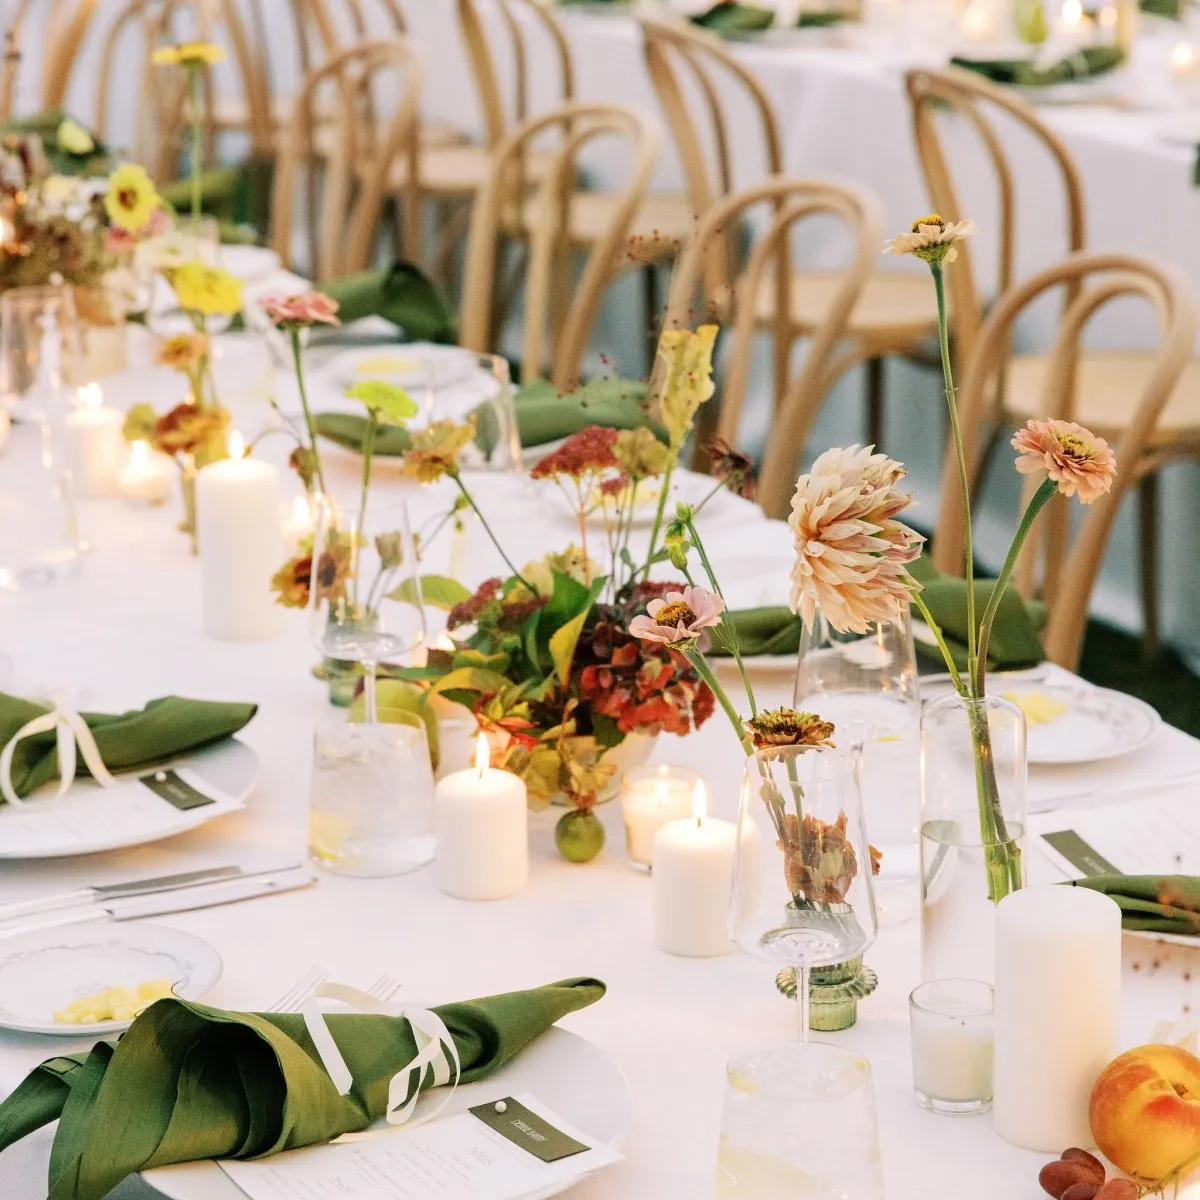
Think about the aesthetics of your event.

Around this time, your wedding timeline also allows you to think more about the aesthetics—the theme, color palette, and so on. Pinterest is an excellent place to explore ideas, and you can even create your own mood board to show to your vendors. More artistic professionals, such as floral designers, may even create a vision based on your initial conversations. 

Shop for your wedding dress.

Brides may dream about their perfect dress early in childhood, but at this point in the wedding planning timeline, you should make all of your appointments to finally try them on. There’s a sweet spot between too few and too many bridal appointments to make, so talk with your planner about the best way to strike that balance. Again, you can look through Pinterest and even Instagram to get a few ideas before you shop. If you’re not quite sure about the fit you’d prefer, ask the sales representative at the bridal salon to pull several different options. From there, you’ll be able to clearly see which styles and cuts you’re gravitating toward. A number of other sources of inspiration may come from your wedding venue, theme, and more.

Discuss hotel blocks.

For most couples, there are guests who will need travel and lodging recommendations. Hotel blocks are popular because they usually come with discounted rates for the wedding couple and their guests. Ideally, you want to choose one or more hotels at a reasonable price point that’s also close to the venue. If you’re asking guests to drive to another location from the hotel, group transportation is also suggested by most wedding experts. 

Schedule engagement photos.

Engagement photos aren’t just to celebrate your engagement, but it has a functional purpose, too. It gets you and your partner more comfortable in front of the camera, and many wedding photographers offer them in a package. This also gives you a unique opportunity to see your photographer in action before your wedding day, so scheduling this earlier on in your timeline is best. This builds your rapport for someone who will soon have a front row seat to capture your special day.

Build your wedding website.

Your wedding timeline is also marked by the significant points of contact you’ll have with your guests leading up to the big day. The first notice most guests will receive about your wedding day is the Save the Date (more on that soon!), and you’ll want to feature a link to your wedding website. The wedding website is a more modern staple that all couples create to keep their guests informed about their upcoming festivities. You can customize your own to feature key details, such as a frequently asked question (FAQ) page, guide to activities and hot spots in the local area, and more. Of course, you can also have fun with it and share more insights into your relationship, from the story of how you met to photos taken at your engagement shoot. Later on, you can also share a more elaborate wedding timeline to show the exact order of events to your guests ahead of the big day.

Register for gifts. 

Wedding websites should have the capability to connect guests to your wedding registry, so you’ll want to build that in tandem. These registries have also become significantly more modern, giving couples a chance to share their desire to receive anything from classic cookware to unforgettable experiences on their honeymoon. Consider what you plan to register for and have a clear conversation with your partner. To make things easier, you can also delegate this job to one person and let them present their ideas to the other before publishing the registry. For couples who build a wedding website through Bliss & Bone, you can also set up a seamlessly connected cash registry to use to purchase your first home, go on your honeymoon, and more. 

Book your honeymoon.

Gifts and vacationing…sounds pretty ideal, right? You’ll also want to include booking your post-wedding vacation around this time. Because you're also in the throes of planning and managing your wedding timeline, many wedding couples recommend enlisting a travel agent to take care of your hotel stay, meal reservations, excursions, and much more. 

Wedding Timeline, Part 3: 6-9 Months Before the Big Day

By the end of this section of the wedding timeline, you’ll be roughly halfway to the finish line—er, aisle. While you likely made most of the big decisions earlier on in your wedding planning timeline, this is where everything is fine-tuned and details are prioritized. Around this time, you’ll also want to weigh the options to host parties before or after your wedding. When you’ve made those decisions, you can prepare the appropriate stationery, purchase the rest of your wedding wardrobe, and finalize bookings for your and your guests’ lodging. 

Book rehearsal dinner venue. 

Traditionally, the groom’s parents host the rehearsal dinner, but that’s not the case for every couple. Around the 6 to 9 month range in the timeline, you’ll want to consult with the hosts and give them your guest list. Your parents, siblings, wedding party, and dates of the groomsmen and bridesmaids make up the typical rehearsal dinner invite list. If you want to include your rehearsal dinner invitation with your other stationery, you can do so by providing each relevant guest with a notice in your wedding invitation suite (sent around 6 to 8 weeks prior to the big day), or you can organize your wedding website to feature information about this special event.

Order your suit and all of the wedding party looks.

Later on in your wedding timeline, you should complete the wardrobe for the groom, groomsmen, and bridesmaids. You could choose to coordinate or match these ensembles, and give yourself plenty of time to look for your favorite items and ensure that they all work together. This is an especially crucial step in a wedding timeline for those who don’t want to order the exact same dress or suit for each member of the wedding party. 

Place the order for all of your stationery.

While you won’t send out all of your communication at this exact point in the wedding timeline, you should order all corresponding wedding stationery. These don’t all need to “match,” but they should remain consistent with your theme and color palette. If you choose to order your stationery through Bliss & Bone, you can also ensure that everything from the wedding website template to wedding menu coordinates perfectly. To get an idea, review the Shop by Collection page on the Bliss & Bone website.

Book hotel blocks.

You may have discussed and negotiated terms for hotel blocks, but you should confirm the reservation for these at the 6-9 month period of your wedding timeline. As a bonus, you’ll want to see if they have discounts on suites where the wedding party can get ready on the day of the event. Once this is all confirmed, make sure you share the details and any promo codes guests can use on your wedding website.

Wedding Timeline, Part 4: 3-6 Months Before the Big Day

Send out your Save the Dates.

Anywhere between three to six months before you walk down the aisle, send out those Save the Dates. There are two common forms of these stationery items: printed or digital Save the Dates. If you are ordering printed Save the Dates, you’ll want to follow the aforementioned wedding timeline recommendation to order those in the six to nine-month window. For a quicker turnaround, digital Save the Dates can be designed and sent to your guests on the same day. Discuss how you want your Save the Dates to look, how you want your guests to experience them, and your budget prior to selecting the appropriate cards for your event. Somewhere on the Save the Date, you’ll also want to provide details about your wedding website, which should be completed long before these are sent out.

Have a meeting with your wedding officiant.

Like so many wedding decisions, you have two primary options here: a professional officiant or a close family member or friend. You can’t go wrong either way, but professionals will guarantee a more organized, sophisticated ceremony. For many couples, it might be more appealing to choose a person who truly knows them and their relationship. Whichever type of officiant, you’ll still need to meet with that person at least once and give them your wedding timeline checklist for the ceremony, along with any other dos and don’ts.  

Tasting with your caterer. 

This is some couple’s favorite day of the entire wedding planning timeline: eating your heart out. Not all venues and caterers have this offering, but if you’re able to, it’s best to try out the potential meals you’ll serve your guests. They’ll give you a sampling of hors d'oeuvres for the cocktail hour, and each course you can expect during the reception. Some caterers will also include a wedding cake with your order, otherwise you’ll need to schedule a tasting with the baking vendor as well. Because everyone’s palate is different, you and your partner may need to compromise on the flavors and food and drink options that appeal to both of you.

Buy your wedding bands.

Don’t let the most important accessories slip your mind in your wedding timeline checklist. The wedding bands are a physical symbol of your marriage, and you and your partner should place orders around this time, if not earlier. If you had a positive experience with the engagement ring purchasing process, you should trust the same jeweler for your wedding bands. This can also make it easier to create harmony in an engagement and wedding ring stack.

Participate in a hair and makeup trial.

We’ve seen it time and time again—not everyone loves how their hair and makeup look on their wedding day. That’s one extremely preventable experience, though, since you can go through a hair and makeup trial with one or several artists to craft your dream wedding beauty look. These hair stylists and makeup artists are here to help you look and feel your best, and while it can be uncomfortable, you need to voice your true opinions during this trial. A few tips for wedding couples: Try booking a hair and makeup trial before a wedding event, such as a bridal shower or engagement party, or a photoshoot. This way, you’ll accomplish two tasks at once, and see how your hair and makeup photographs since a lot of photos will be taken. And if you really want to see how your hair and skin will fare late into the evening after a sometimes sweaty dance session at your reception, some makeup artists have suggested going to a heart-pumping workout class after completing a beauty trial.

Wedding Timeline, Part 5: 1-3 Months Before the Big Day

Only 90 days left as fiancés! During the three-month countdown of your wedding timeline, there are a few logistical steps that are required here. There isn’t a ton you need to do yet, but the finalizing will kick into gear once you reach the month of your wedding. You may have felt like there was a bit of a holding period prior to this, but the excitement really begins at this point. This is real, and it’s happening in just a few short weeks, so take it all in and appreciate all of the work you, your partner, and your planner have done.

Apply for and obtain your marriage license.

Your wedding photos and rings are the physical remnants of your special day, but there’s a legally binding document you really need: the marriage license. These guidelines are dependent upon your state and county, so do your research and follow the steps required to complete this part of your wedding timeline checklist. You may need to schedule an appointment, making this another item you’ll want to plan ahead for your wedding timeline. On the day of your wedding, you’ll also need your officiant and at least one witness to sign the license.

Send out your formal wedding invitations.

The last official piece of the stationery puzzle? Your wedding invitations. Just like your Save the Dates, you can choose between printed or digital wedding invitations. It’s more common to send physical invitations, even in the digital age, but both styles follow etiquette rules outlined by experts from the Emily Post Institute. Formal printed wedding invitations will have a longer lead time and cost significantly more, so you’ll need to budget and plan for that in your wedding timeline. The wedding invites aren’t simply a notice about your celebration, but a more complete set offering details about the wedding timeline before, during, and after. For example, if you have a pre-wedding welcome party or post-wedding brunch, you should have separate invitations for that sent via email or included in your wedding stationery suite. However you choose to send these wedding invitations, you’ll need to give clear instructions on how to RSVP. 

Go to your wedding dress fittings.

The Knot says that you should have three separate dress fittings with a tailor who’s recommended by the bridal salon or an in-house offering provided by the retailer. The first fitting should be scheduled about eight weeks before, then the second falls between the four to six-week mark, and the final fitting should be arranged about two to four weeks before the big day. This gives you plenty of time to work with the tailor and find the perfect fit. 

Write your personal vows. 

If you get married in a church or other place of worship, you may not have the opportunity to write personal vows. However, if you’re able to and interested, you and your partner should plan writing your personal vows into your wedding timeline. It’s a challenging experience, for sure, but many couples find it rewarding and the chance to share your true feelings about your significant other in front of all of your closest friends and family members. It’s not authentic to everyone to bear your soul to everyone around you, and some couples have found workarounds that fit their style and comfort levels. It’s become more and more popular to exchange personal vows separately, such as during the first look. For an even more intimate showcase, you can include all of your personal feelings into a card given to your future spouse while you’re getting ready in the morning. This will set the tone for your event and calm any nerves you might have about taking the spotlight that day.

Wedding Timeline, Part 6: Month of the Big Day

Your wedding timeline month of schedule is where things are getting real. At this point, most of your major wedding timeline checklist items have been “checked off,” but you and your planner will need to finalize everything. Many vendors will call you to confirm all of the choices you made months ago, and see if anything has changed. You can also get more candid about your needs and wants, as well as what you really don’t want. One of these big conversations will be with your DJ or live band. A DJ can work with any playlist requests, but you’ll also need to share the songs or styles you want with a live band director. 

Collect all of your wedding RSVPs.

This can sometimes turn into a frustrating process for couples. As fun and exciting as it is to see those “yes” RSVPs trickle in, you’ll also have a few stragglers. If it’s less than two weeks before the wedding, you need to do some outreach. Divide and conquer with your partner, and send a text, email, or call to determine whether those people are planning to attend the wedding. To reframe the annoyance of not hearing back, you can see it as an opportunity to catch up with a few of your favorite people before your wedding!

Design your seating chart, and order place cards and escort cards.

Once you have finalized your guest list, the remainder of your wedding timeline should consist of any details for the seating chart. By now, you know who will attend and you should decide how your guests will be seated at the reception. From several round tables to one long rectangular table, there are quite a few possibilities that your venue coordinator can outline for you. Group by friends from childhood, friends from college, immediate families, and so on. At this point, you and your partner should also discuss where you want to sit. Many choose to sit by themselves at what’s called a sweetheart table, while others prefer to sit with their wedding party or parents and siblings. 

Once the seating chart is established, you’ll also need to order escort cards and place cards. The former are on display at the cocktail hour and tell people where to find their reception table and seating assignment, and the latter shows where exactly they should sit at the table. For a more informal setup, and to save time, you can also assign tables only or let guests sit anywhere (a more common solution for a casual, buffet-style reception meal). 

Go to your final dress fitting.

This final fitting is scheduled in your wedding timeline approximately two to four weeks before your special day. It’s emotional and should make you feel eager to wear it the day of your wedding. Now isn’t the time to make major changes to your dress, but to confirm the fit and overall look of your tailor’s work. If special guests have already come into town, such as bridesmaids or a grandparent, consider inviting them to this special moment. 

Have discussions with all of your necessary vendors.

As we previously mentioned, this is the last time you’ll probably speak to most vendors before the wedding timeline day of begins. These conversations will give everyone involved the clarity they need to move forward, and essentially ties up any loose ends left behind by those initial chats. Your planner can also help you navigate these conversations, and if there’s enough trust, they can take care of these phone calls for you. Your wedding timeline day of will also guide these calls, since you’ll need to get specific about where and when each vendor is needed. This is a particularly important call for your photographer, videographer, hair stylist, and makeup artist. 

Wedding Timeline, Part 7: Week of the Big Day

The wedding you’ve been waiting for is just days away, and the week of the celebration is all about preparing your mind, body, and spirit. Wrap up any work you have left, and clear your mind before you become a married couple. Below, review the last-minute parts of your wedding timeline. 

Make any last-minute seating chart changes.

Best case scenario: Nothing changes to your guest list, so your seating chart is good to go. More realistic scenario: Life happens, travel plans are mixed up, and guests get sick. If you need to make any tweaks, now’s the time. 

Handle any pre-getting ready tasks.

Beyond your hair and makeup, there are quite a few things you may need to include in your wedding timeline. Some popular appointments are manicures and pedicures, facial or body waxes, eyelash extensions, or a spray tan. Fair warning: You don’t want to break from your normal routine, especially this close to the most important day of your life.

Pack for your honeymoon.

It’s becoming increasingly common to schedule a honeymoon months after your wedding, but if you’re heading out immediately following the reception, don’t forget to pack! All of this said, you will need to pack farther in advance if you’re planning a destination wedding, which will involve traveling beforehand. This could be laborious, but it’s a reminder that your post-wedding R&R is just around the corner. 

Recite your personal vows.

When there’s just a week to go until you say, “I do,” try and say your personal vows out loud. Sure, you’ve written your innermost thoughts about your beloved, but preparation is key. Your wedding stirs up a lot of emotion, and you want to be prepared to share these sentiments in a clear way (but don’t forget, it’s completely OK if your emotions take over!). Reciting them in front of a mirror or with a confidante will allow you to feel more comfortable and ready for the ceremony. 

Wedding Timeline, Part 8: The Big Day!

After months, or even years of prep, it’s here. Your wedding day is happening, and you want to be as organized as possible. Planning a wedding timeline requires a lot of mental gymnastics, but with help from your wedding planner and venue coordinator, it’s significantly more approachable. We’ve reviewed several wedding planning timelines for the day of your ceremony and reception, and the typical lineup is as follows: 

9 a.m. - 12:30 p.m.: Get ready for the day

Your wedding timeline for the day of your celebration begins with hair and makeup. You can hire hair and makeup professionals to do your makeup, your mom’s makeup, and anyone else you’d like. The wedding party or close friends, siblings, and even your future mother-in-law could be considered. Think about your personality and how you want to put your best foot forward on the morning of your wedding. If you think you’ll be overwhelmed, consider asking your wedding party to get ready at staggered times or at a nearby salon. The number of people you get ready with will also determine the cost and number of pros you’ll need to get everyone styled.

1 - 2:30 p.m.: Take getting ready photos with your wedding party

Closer to the ceremony start time, most couples want their photographer and videographer to come in and capture the preparation process. This is also a special time to capture more intimate moments, such as a parent or friend putting the finishing touches on your dress or veil or tying a bow tie. You could even ask them to film or photograph you reading a special note written by your partner. 

2:30 p.m.: Have a first look with your partner, followed by wedding party photos.

The first look is when you and your partner have a personal moment, which is usually captured by your photographer and videographer. You’ve spent all day—and really, all year—leading up to this moment, and it’s finally arrived. Having this scheduled into your wedding timeline gives you more time to spend at your cocktail hour, since many of your wedding portraits will be taken then. When your photographer is ready, you can bring in any family and friends you’d like to take more photos with before the ceremony starts. 

4 p.m.: Your wedding ceremony begins.

If you’re getting married outdoors, you’ll want to factor in the sunset so you can avoid saying, “I do” in the dark. 4 p.m. is generally a solid time to get that “golden hour” moment by the end of your wedding ceremony. Your wedding planning timeline should feature the following key vendors: wedding ceremony musicians and wedding officiant. To further organize your ceremony, you can also ask ushers to pass out wedding programs to fully guide everything through the processional, readings, vow exchange, and recessional. 

4:30 p.m.: Take family photos and any other photos during cocktail hour.

After you’ve become a married couple, you may have more photos to take with each other and any remaining groups. Keep in mind that this will cut into your cocktail hour in your overall wedding timeline, so think about how present you want to be at that portion of the wedding. Historically, couples have missed the cocktail hour because they’re so busy taking photos or preparing for the reception with their hair and makeup team. Speaking of, you’ll want to communicate with hair and makeup if you want them to perform any touch-ups before or after the ceremony and prior to the reception. 

6 p.m.: Walk into your wedding reception.

Introducing…you and your partner! The next step is arguably the most lively portion of the wedding timeline. You will eat, drink, and be oh-so-married. The dance floor is ready for you, your partner, and all of your family and friends. The most classic order of events for your wedding timeline from here include the introduction, first dance as a married couple, parent dances, the meal, cake cutting, and then cutting a rug on the dance floor. 

This is the average wedding timeline we recommend, but you can rework it to suit your specific needs. Plenty of couples host daytime ceremonies with brunch receptions, or simply get married in an intimate elopement. At the end of the day, you and your partner should do what’s best for you, your budget, and your personal styles. For a more personalized wedding timeline, contact a professional wedding planner to get started.

Carats & Cake
Join the Community
Create An Account
Back to Login

By creating an account, you agree to our Terms of Use and have read and understood the Privacy Policy.

Back to Login
No problem! Reset your password via email.
Back to Login
Wedding Websites & Invitations
Exclusive Offer!
Get 1 Month Free on a
Bliss & Bone Wedding Website!

For a limited time only, new customers will get their first month free on any Bliss & Bone Wedding Website.

shop with code: BBXCC
Wedding Websites & Invitations